One Broken Slate Isn’t a Roof Replacement—Here’s the Fast, Correct Fix
Replacing slate roof tiles is a targeted repair, not a disaster. Answer: A single damaged slate almost never means your roof needs full replacement; a proper spot repair restores performance and preserves service life. For a fast assessment from a trusted Maryland roofing contractor, start at our Whiting Window Siding and Roofing homepage. High-quality S1 hard slate often lasts 75–200 years, while softer S2–S3 slates last 50–125 years, per historic building guidance from the National Park Service (see NPS Preservation Brief 29: Slate Roofs). Our Maryland field data (2015–2024) shows that over four in five slate service calls involve replacing 10 slates or fewer—proof that isolated repair is the norm, not the exception.
Quick Answer for Replacing Slate Roof Tiles:
- Assess the damage: Repair is cost-effective if less than 20% of tiles are damaged.
- Gather proper tools: You’ll need a slate ripper, copper nails, matching slate, and safety gear.
- Remove the broken slate: Use a slate ripper to cut the nails and clear all fragments.
- Install replacement: Use either the slate hook method or the nail-and-bib method.
- Never face-nail: This creates direct water intrusion points and leads to leaks.
- Test the repair: Spray the area with water and check for leaks from the attic.
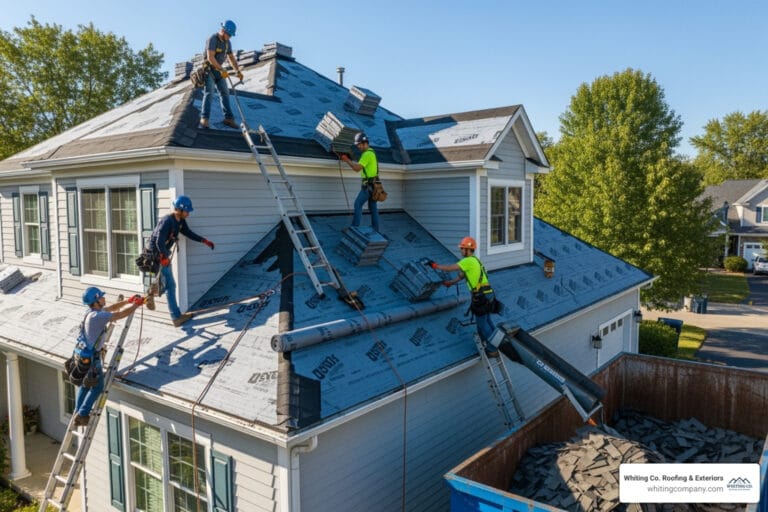
Most slate damage is highly repairable. A correct repair can last for decades, but it requires proper techniques and materials. Safety is paramount; working on steep, slippery slate demands fall protection and experience. For expert guidance on residential roofing, knowing when to call professionals can prevent accidents and costly mistakes. If a broader scope is found during inspection, review our specialized roof installation services for a system designed to last from day one.
At Whiting Window Siding and Roofing Roofing & Exteriors, our team has completed thousands of slate repairs across Maryland. We know that proper technique and quality materials are essential for repairs that truly last.

DIY or Pro? Slate Tile Repair vs. Full Roof Replacement
When you spot a cracked slate, the first question is whether you can fix it yourself or need a professional. The answer depends on the damage scope and your comfort with heights. The good news is that slate roofs are built to last. High-quality hard slate can serve your home for 75 to 200 years, while softer varieties last 50 to 125 years. This durability means most issues are isolated problems, not signs of total roof failure. Authoritative guidance on slate longevity and grading aligns with ASTM C406 classifications and the National Park Service’s Preservation Brief 29 on slate roofs.
If you only have a few broken tiles on an otherwise healthy roof, replacing slate roof tiles individually is the most economical choice. However, if your roof is constantly losing slates, it’s time for a professional assessment. Understanding the signs your roof needs repair helps you make a confident decision. If a replacement is warranted, compare our roof replacement services with new-system options through our roof installation team to ensure long-term value and manufacturer-backed warranties.
When to Call a Professional for Slate Roof Repair
While a single tile repair can be a DIY project, certain red flags demand a professional. Ignoring them can lead to more extensive damage and higher costs.
- Widespread Damage: If you see multiple missing or cracked slates, it suggests underlying issues. We follow the “20% rule”: if more than 20% of your slates need replacement, a full roof replacement is usually more economical than continuous repairs.
- Structural Concerns: Signs of underlayment rot or water damage to the wood decking require an expert evaluation to ensure your home’s structural integrity.
- Steep Roof Pitch: Roofs with a pitch over 8/12 present serious safety challenges. At Whiting Window Siding and Roofing, we adhere to strict OSHA fall protection guidelines, using proper harnesses and anchors. If your roof feels like a mountain, it’s a job for the pros.
The Long-Term View: Repair vs. Full Replacement Costs
While the initial cost of a full slate replacement is high, it’s important to consider the long-term financials. Continuous repairs on a failing roof can quickly become more expensive.
- Spot Repairs: An average spot repair for replacing slate roof tiles and fixing damaged underlayment costs around $900. This is excellent value for isolated damage.
- Full Replacement: A full natural slate replacement ranges from $20,000 to $60,000+. Synthetic slate is a more affordable option at $7,500 to $25,000, but its lifespan is shorter (around 60 years).
Repairing your slate roof also has environmental benefits, as it reduces waste. A properly executed repair using quality copper components can last for decades, making it a sound choice from a lifecycle cost perspective.
Gearing Up: Your Essential Slate Repair Toolkit
Properly replacing slate roof tiles requires specialized tools and materials. Rushing this step can lead to a repair that fails within months instead of lasting for decades.

Finding a matching slate is a critical first step. You need to identify the slate’s grade (S1, S2, or S3), regional origin, and match its color and weathering. This ensures your repair blends seamlessly with the rest of the roof.
Essential Tools and Materials for Replacing a Broken Slate Roof Tile
Professional slate work demands specialized equipment:
- Slate Ripper: A 30.5-inch carbon steel tool used to slide under slates and cut the nails holding a damaged tile.
- Slate Hammer: Features a pointed end for punching nail holes and a flat end for driving nails.
- Copper Nails: The only acceptable fastener for slate work, costing $15-30 per pound. Their 60-80 year lifespan is essential for a durable repair. Never use galvanized or steel nails.
- Slate Cutter: Provides clean, professional cuts and prevents hairline cracks. Costs around $80.
- Matching Slate: Sourcing a replacement that matches your existing roof in size, thickness, and weathering is crucial.
- Installation Materials: Depending on the method, you’ll need copper or stainless steel slate hooks or 8″x3″ copper sheet pieces for bibs.
- Safety Gear: A ladder with stabilizers and a safety harness with an anchor are non-negotiable.
Safety First: Critical Precautions for Working on a Slate Roof
Slate roofs are notoriously slippery and brittle, making safety a top priority. OSHA fall protection guidelines are the standard for a reason, even for homeowners.
- Fall Protection: Always use a safety harness connected to a solid anchor point. A $200 harness system is cheaper than an ambulance ride.
- Weather: Only work on calm, dry days. Wet slate is as slippery as ice, and wind can turn loose tiles into projectiles.
- Proper Gear: Wear non-slip roofing shoes, safety goggles, and heavy-duty gloves.
- Work with a Helper: Never work alone. A ground helper can secure your ladder and call for help in an emergency.
- Move Carefully: Distribute your weight to avoid cracking surrounding tiles. Prioritize safety over speed.
The Step-by-Step Guide to Replacing Slate Roof Tiles
With the right equipment and safety measures, you can tackle replacing slate roof tiles. This process demands patience and precision to create a repair that is both invisible and durable for decades to come.

A proper slate repair should blend seamlessly with the existing roof, maintaining its aesthetic and structural integrity. Every movement should be deliberate to protect the surrounding slates.
Step 1: How to Properly Remove the Broken Slate
Removing a broken slate requires precision, not force. Your slate ripper is designed for this delicate operation.
- Identify the broken slate and examine the area for other damaged pieces.
- Slide the slate ripper under the broken slate until it reaches the course above.
- Hook the nails holding the broken slate. You will feel the ripper’s hook catch on the two nails securing the tile.
- Strike the ripper’s handle firmly with your slate hammer to cut or pull the nails. This may take a few tries.
- Remove all fragments of the broken slate. Any debris left behind can prevent the new slate from sitting flush, creating a path for water.
- Inspect the underlayment and decking for moisture damage or rot. Address these issues before proceeding.
Step 2: Two Professional Methods for Replacing Slate Roof Tiles
Professionals use two primary methods: the slate hook method and the nail-and-bib technique. Both avoid face-nailing, which is a critical error that creates direct water penetration points.
Method A: Installing with a Slate Hook
The slate hook method is reliable, simple, and creates a nearly invisible repair. A properly installed slate hook repair will not fail.
- Select a matching replacement slate that is clean and correctly sized.
- Pre-drill a small hole in the wood sheathing where the top of the new slate will rest, about 1-2 inches below the bottom edge of the slate course above.
- Drive a copper or stainless steel slate hook into the pre-drilled hole until it is firmly anchored.
- Slide the new slate upward into the opening, positioning it over the hook.
- Gently pull the slate downward until the hook engages the bottom edge. You will feel it lock into place.
The hook’s minimal profile will be barely visible from the ground.
Method B: Installing with a Nail and Bib
This traditional method uses a small piece of copper flashing (the “bib”) to create a waterproof barrier over the nail head.

- Slide the new slate into the opening, aligning it with its neighbors.
- Drive a single copper nail through the new slate near its top edge, ideally into the joint between the slates in the course above. Leave the nail head slightly raised to allow for expansion.
- Create a copper bib from an 8″x3″ piece of copper sheet, cutting a pointed tip on one end.
- Slide the bib, pointed end first, under the course of slates above the repair. Push it up until it completely covers the nail head and extends 2-3 inches above the bottom edge of the upper course. The bib acts as mini-flashing, directing water away from the nail.
The Cardinal Sins of Slate Repair: What NOT to Do
Certain shortcuts can be destructive to your roof’s long-term health.
- Face-Nailing: Never drive a nail through the exposed face of a slate. This creates a permanent pathway for water infiltration, leading to rot and structural damage. No amount of sealant can protect a face-nailed slate.
- Caulk, Tar, or Roofing Cement: These materials are inappropriate for slate repair. They crack, shrink, and fail under UV exposure and temperature changes. Worse, they trap moisture against the wood decking, accelerating rot. Fixing damage from these “solutions” is a common and costly repair.
Advanced Considerations for a Flawless Slate Roof
A flawless repair goes beyond mechanics; it involves details that preserve your roof’s architectural integrity and value. Proper care ensures your slate roof, a century-plus investment, continues to perform for generations. At Whiting Window Siding and Roofing, our professional roof inspection services focus on these details to prevent small issues from becoming major problems.
The Art of the Match: Finding and Choosing Replacement Slate
Matching slate is part detective work. As a natural product, slate’s characteristics vary based on its origin and age.
- Slate Grade: Slates are graded S1 (100-200 year lifespan), S2, or S3 (50-125 year lifespan). Match the grade to ensure your new tile isn’t a weak link.
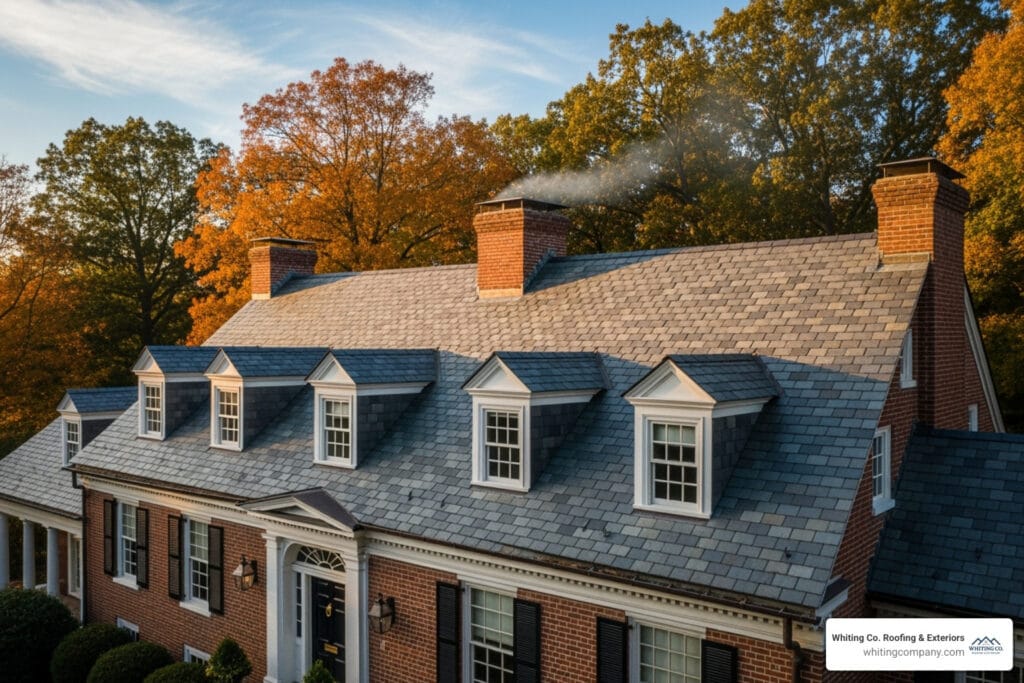
- Regional Origin: The quarry’s location affects color and weathering. Pennsylvania slates are typically grayish-black, while Vermont slates come in greens, reds, and purples. A Vermont green slate develops a different patina than a Welsh purple one.
- Color, Texture, and Weathering: A new slate can look jarring next to tiles that have weathered for decades. Salvaged slate, which has already developed a natural patina, is often the best solution and costs around $300 per square. New slate prices vary, from $250 for common types to over $1,000 per square for premium varieties.
- Synthetic Slate: This is a practical alternative when a natural match is difficult or cost-prohibitive. Synthetics are about 40% cheaper than natural slate, with a lifespan of around 60 years. While they mimic the look, they lack the unique character and extreme longevity of natural stone. Learn more about your options in our guide to roofing materials.
Ensuring a Watertight Seal and Long-Term Durability
A successful repair is a watertight one. Follow these steps to ensure long-term durability.
- Test Your Repair: After installation, have a helper spray the area with a garden hose (never a pressure washer) while you check for leaks from the attic.
- Schedule Biennial Inspections: Professional inspections every two years can catch minor issues like slipped slates or failing flashing before they escalate. A $300 repair today can prevent a $3,000 job later.
- Keep Gutters Clean: Clogged gutters cause water to back up under slates. Regular maintenance is a simple way to protect your investment. Our gutter services can help.
- Trim Overhanging Trees: Branches scraping against slates cause wear, and falling limbs can shatter tiles. Keep trees trimmed back from your roof.
- Document Repairs: Keep a “roof journal” noting when and where repairs were made and what materials were used. This history is invaluable for future maintenance.
Frequently Asked Questions about Replacing Slate Tiles
Homeowners often have questions about replacing slate roof tiles. Here are answers to the most common ones we hear.
How long will a properly executed slate roof repair last?
A properly executed slate roof repair should last as long as the surrounding roof. When using correct methods (slate hooks or nail-and-bib) and quality materials, the repair is a permanent fix. The copper components have a lifespan of 60-80 years, and a properly matched slate tile can last over a century. We’ve seen repairs from the 1920s that are still performing perfectly.
Why is it so important to avoid walking on a slate roof?
Slate is a natural stone that is durable against weather but can be brittle under concentrated pressure. Walking on a slate roof can easily crack tiles, especially if they have hairline fractures or are unsupported. This can create a domino effect, turning a simple, single-tile repair into a major, multi-tile project. Professionals use specialized equipment like roof jacks and chicken ladders to distribute weight and prevent damage.
What is the ‘20% rule’ and how does it apply to slate roofs?
The ‘20% rule’ is an industry guideline for determining if replacement is more cost-effective than repair. If more than 20% of your slate tiles are damaged, missing, or deteriorating, a full replacement is typically the smarter long-term investment. Beyond this threshold, you face continuous, costly repairs, and the underlying structure may already be compromised. This rule is especially relevant after severe weather. Our Storm Damage Roof Replacement assessments can determine if your roof has reached this point.
Conclusion: Maryland Slate Roof Repair, Installation, and Replacement That Lasts
Replacing slate roof tiles is a manageable task when approached with the right tools, techniques, and preparation. A single broken tile is not a catastrophe but a minor chapter in your roof’s century-long story. The beauty of slate lies in its resilience, and proper repairs maintain the system that has protected homes for generations.
Using professional methods like the slate hook or nail-and-bib technique ensures your repair is watertight and blends seamlessly. It is critical to avoid shortcuts like face-nailing or using caulk, as these inevitably lead to more significant and expensive damage.
Safety is non-negotiable. If you are not comfortable with heights, lack the proper safety equipment, or face extensive damage, calling a professional is the smartest decision.
In Maryland, our climate presents unique challenges. At Whiting Window Siding and Roofing Roofing & Exteriors, we have decades of local expertise. Whether you need a single tile replaced, a full Roof Replacement, or a brand-new Roof Installation, our certified team delivers craftsmanship designed to last. We proudly serve communities across the state, including Columbia, MD. Your slate roof is a major investment; with proper care, it will protect your home for decades to come.