
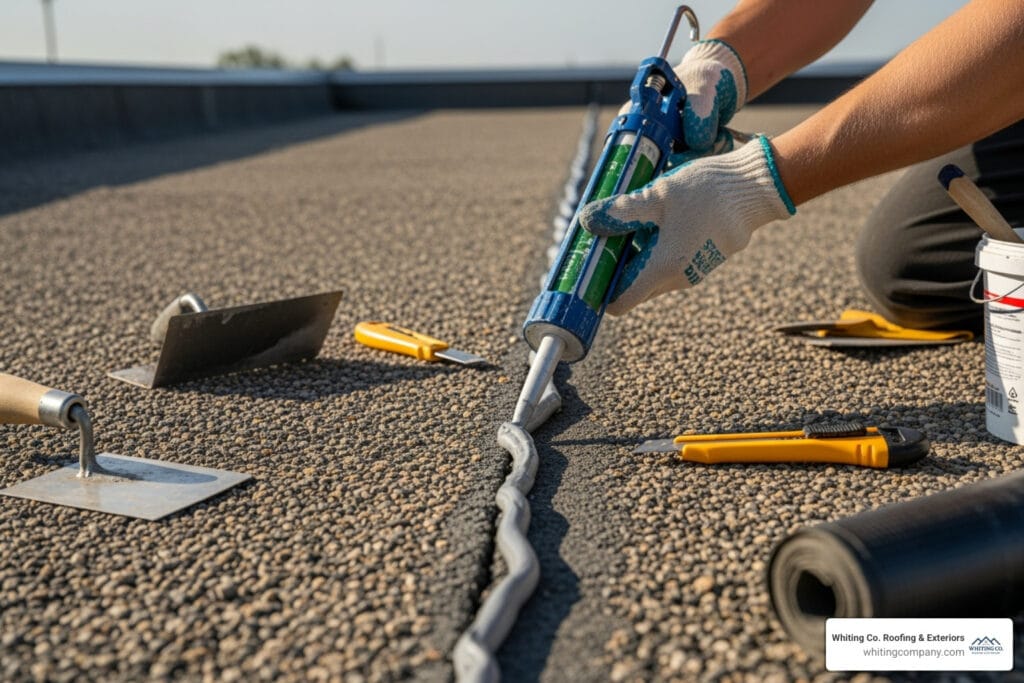
Why DIY Flat Roof Repair Saves Time and Money
Flat roof repair doesn’t have to be expensive. Most flat roof leaks stem from small, fixable problems. Industry research shows that over 60% of flat roof failures begin with minor issues like cracked seals or clogged drains that homeowners can address themselves with basic tools.
Quick answer for homeowners searching “flat roof repair”:
- Most common fix: Seal small cracks or holes with roofing cement and a mesh patch.
- Average DIY cost: $50–$150 in materials.
- Time required: 1–3 hours for minor repairs.
- When to call a pro: Leaks covering more than 10% of the roof, sagging areas, or untraceable water damage.
Flat roofs are popular on modern homes and garages in Maryland, but their low slope makes them vulnerable to water pooling. The good news is that catching problems early can add years to your roof’s lifespan. For homeowners concerned about protecting their property, understanding basic flat roof maintenance is essential to prevent expensive emergency calls.
I’m Tim Whiting, owner of Whiting Window Siding and Roofing Roofing & Exteriors, and I’ve overseen more than 25,000 roofing projects across Maryland over nearly five decades. My experience shows that most flat roof leaks can be fixed fast and affordably when you know what to look for and how to act quickly.
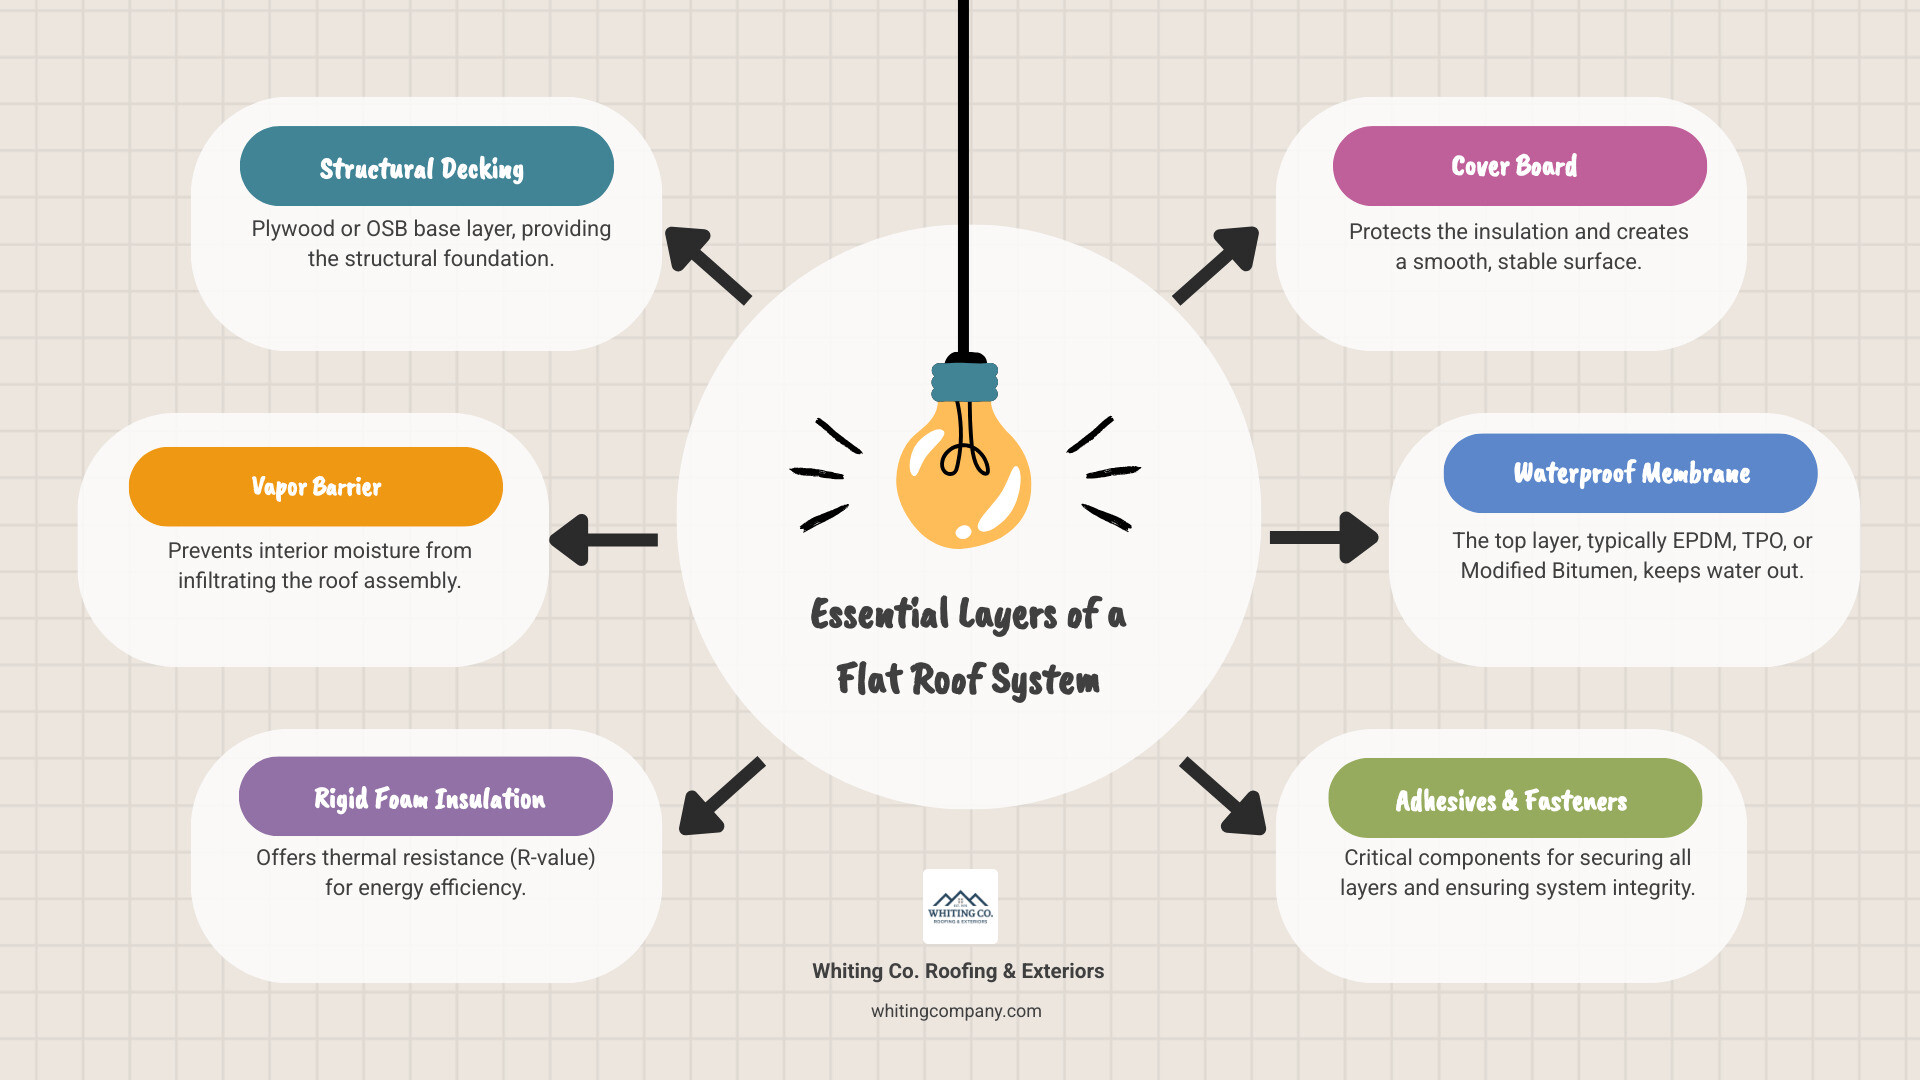
Section 1: Identify Your Flat Roof Type and Pinpoint the Problem
Before starting any flat roof repair, you must perform an accurate diagnosis. This involves identifying your roof’s material and finding the true source of the leak, as water often travels far from the entry point before appearing as a ceiling stain.
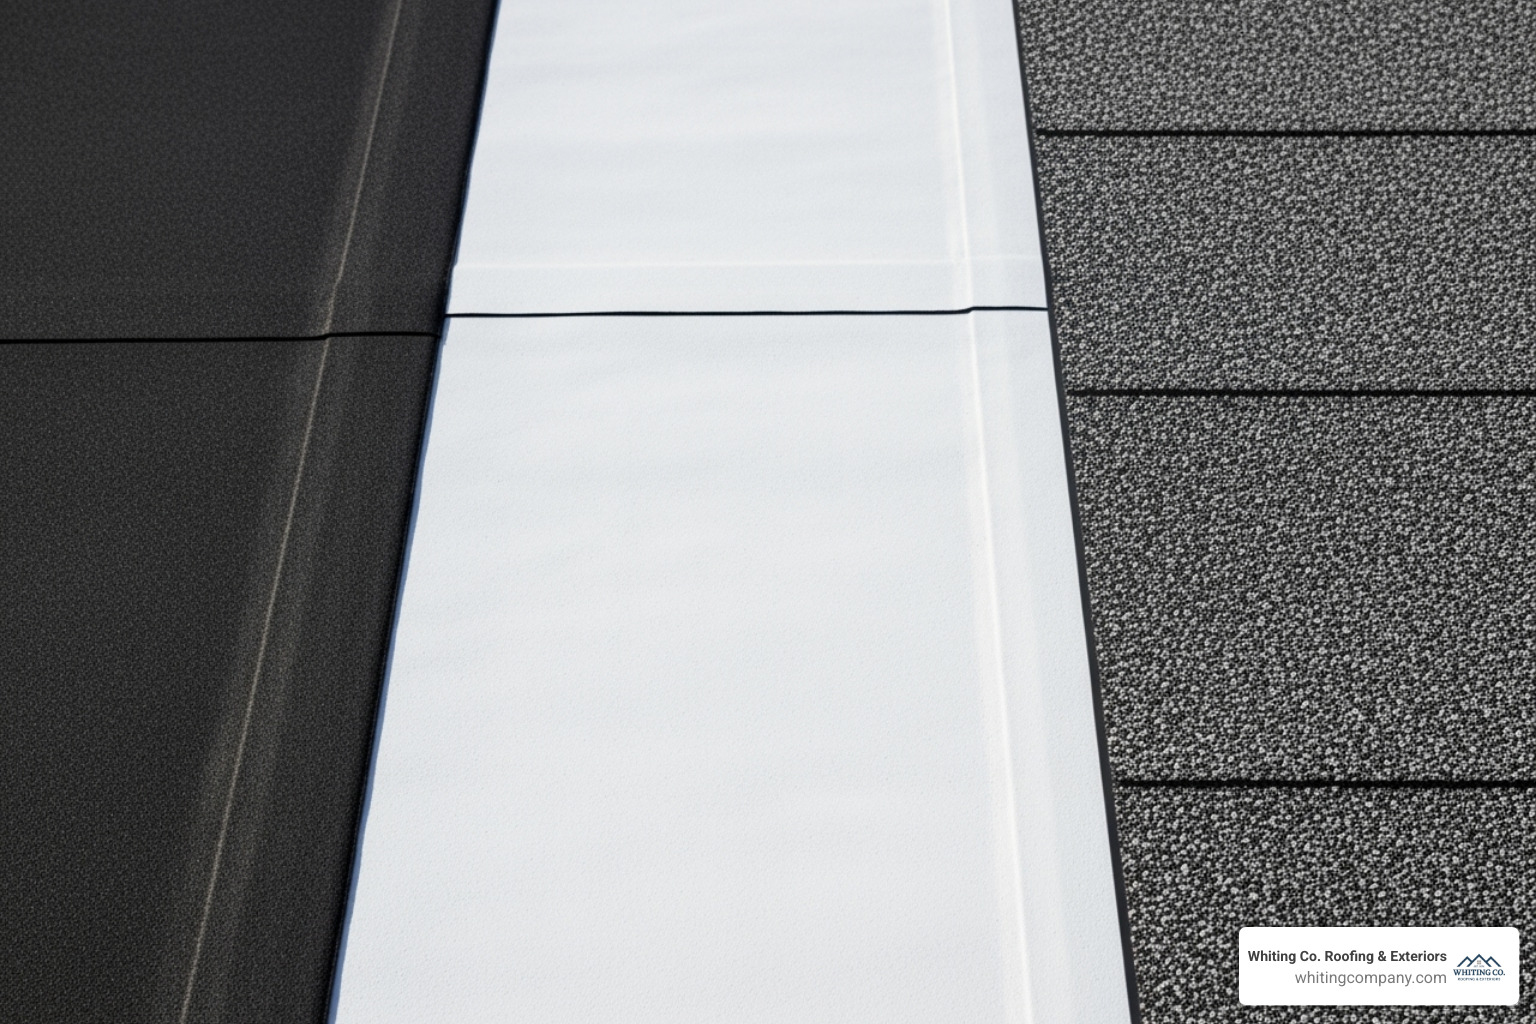
Most residential flat roofs in Maryland use one of three membrane types:
- EPDM (Rubber Roofing): A black, smooth material resembling an inner tube. Seams are glued, making it the easiest type for DIY patches. However, adhesives can fail under Maryland’s summer heat.
- TPO (Thermoplastic Olefin): A white, smooth membrane with hot-air welded seams that are stronger than EPDM’s glued seams. It offers better puncture resistance and can last up to 20 years.
- Modified Bitumen: A granular, asphalt-like surface installed in rolls. It is typically grey or white.
Using the correct repair products for your specific material is critical for a lasting seal.
Common Causes of Flat Roof Damage and Warning Signs
Flat roofs are vulnerable to specific issues that pitched roofs are not. Early detection is key to preventing minor problems from becoming major expenses. Here are the primary causes of damage and the signs to look for:
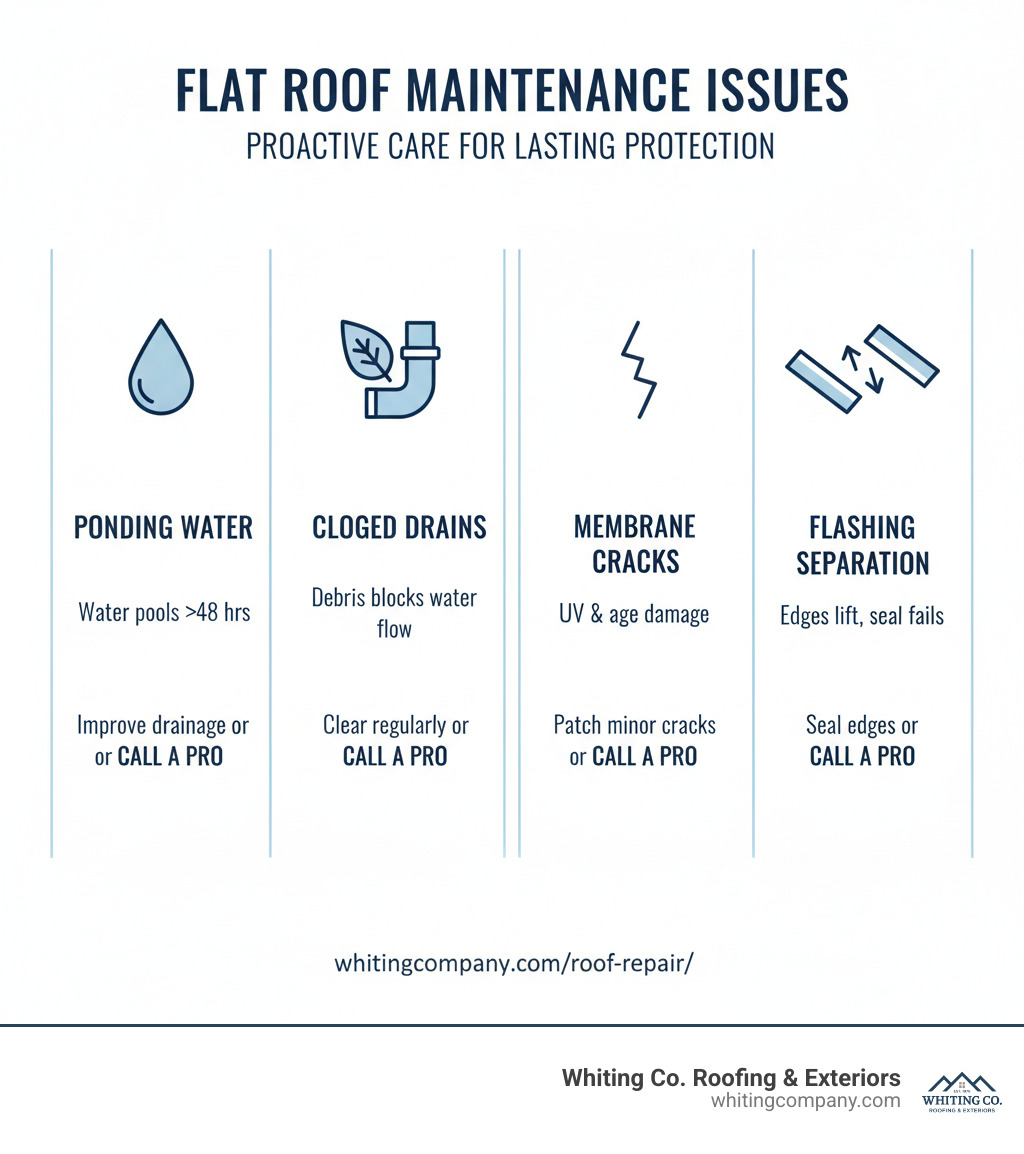
- Ponding Water: Any water that remains on the roof for more than 48 hours after rain is a major threat. It accelerates material decay and adds stress to the roof structure.
- Membrane Damage: Look for cracks, tears, punctures from foot traffic or debris, and blisters (bubble-like bumps). These are direct entry points for water.
- Seam and Flashing Failures: Separated seams and failing flashing are the top causes of leaks. Flashing seals the vulnerable joints where the roof meets walls, chimneys, and vents. Damaged flashing is responsible for more leak calls than any other single issue.
- Interior Signs: Water stains on ceilings or walls are the most obvious red flag. Musty odors inside your home can also indicate a hidden leak and mold growth.
- Sagging Areas: Any sagging or soft spots on the roof could signal structural issues or significant water trapped beneath the membrane, requiring immediate professional attention.
For a comprehensive guide on identifying various roofing issues, see our resource on signs your roof needs repair.
The Role of Flashing and Drainage
Flashing and drainage are the two most critical components for flat roof longevity. Flashing seals transition points, while drainage systems—including internal drains and scuppers—remove water quickly. A clogged drain is a fast track to ponding water and expensive damage. Regular cleaning of drains and inspection of flashing are the most effective preventative maintenance tasks a homeowner can perform. For homeowners in Columbia needing expert roofing services custom to Maryland’s climate, understanding these fundamentals is key to protecting your investment.
Section 2: Step-by-Step DIY Flat Roof Repair Guide
Minor flat roof issues can often be resolved with a DIY approach. However, safety must be your top priority. Only work in dry, clear weather, and never step on areas that feel soft or unstable. If you are uncomfortable with heights or unsure about the repair, call a professional.
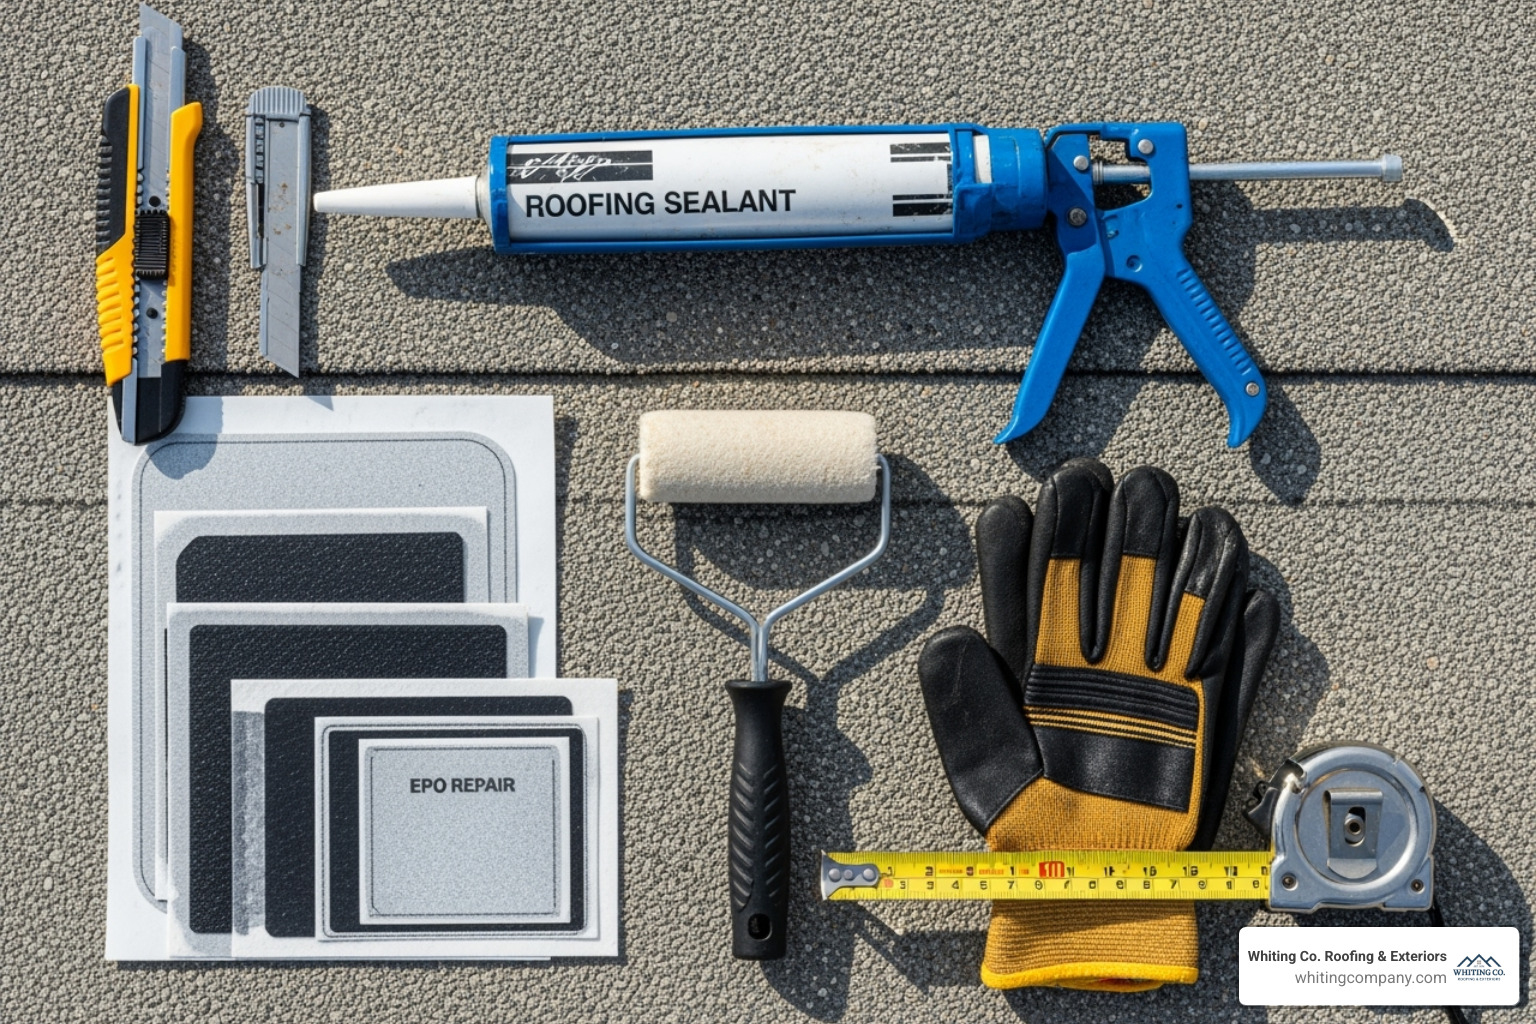
Safety & Tools Checklist
Before you begin, ensure you have the right gear and work under safe conditions. The total cost for materials is typically between $50 and $150.
- Safety First: Work on a dry, sunny day. Wear non-slip shoes and gloves. Use a stable ladder that extends three feet above the roofline. Never work alone.
- Essential Tools: Utility knife, stiff brush, trowel or putty knife, and a caulking gun.
- Repair Materials: High-quality roofing cement/sealant, fiberglass mesh, a membrane patch kit specific to your roof type (EPDM, TPO, etc.), and a cleaning solvent or primer.
How to Repair Small Cracks and Holes
This is the most common DIY flat roof repair.
- Clean and Dry the Area: Sweep away all dirt and debris. The surface must be completely dry for adhesives to bond.
- Prepare the Surface: Use a manufacturer-approved solvent or primer to clean the area around the damage. This step is crucial for long-lasting adhesion.
- Apply Roofing Cement: Spread a 1/8-inch thick layer of roofing cement with a trowel, extending it at least 6 inches beyond the crack in all directions.
- Embed Fiberglass Mesh: Press a piece of fiberglass mesh firmly into the wet cement, ensuring there are no air bubbles.
- Apply a Second Layer: Cover the mesh completely with another layer of cement, feathering the edges smoothly.
How to Fix Blisters or Bubbles
Blisters form when air or moisture is trapped under the membrane.
- Cut the Blister: Use a utility knife to make an X-shaped cut through the center of the bubble. Be careful not to cut underlying layers.
- Dry the Interior: Lift the flaps and let the area dry completely. If the underlying insulation is wet and spongy, call a professional.
- Apply Adhesive: Spread roofing cement on the underside of the membrane flaps and the roof deck below.
- Press and Seal: Press the flaps down firmly, squeezing out excess adhesive.
- Patch the Seam: Apply a layer of roofing cement over the cuts, embed fiberglass mesh, and cover with a final layer of cement, extending several inches beyond the repair.
How to Address Leaks Around Roof Penetrations
Failing sealant around vents, pipes, and skylights is a primary source of leaks.
- Clean and Prepare: Use a wire brush to remove all dirt, debris, and old, cracked sealant from the base of the penetration. The surface must be clean for the new sealant to adhere.
- Inspect the Flashing/Boot: Check the metal flashing or rubber boot for cracks or gaps. A torn boot may need to be replaced.
- Apply New Sealant: Use a caulking gun to apply a generous bead of high-quality, UV-resistant exterior sealant at the base where the penetration meets the roof. Ensure all gaps and seams are completely filled.
Allow all repairs to cure for at least 24 hours as per the manufacturer’s instructions. For more complex issues, our team at Whiting Window Siding and Roofing Roofing & Exteriors provides professional roof repair services in the Columbia, MD area.
Section 3: When to Call a Professional Roofing Contractor
While DIY repairs are great for minor issues, some situations demand professional expertise. Attempting a complex repair without proper training can worsen the problem, cause structural damage, or void your roof’s warranty. Knowing your limits is the smartest move a homeowner can make.
Risks of Improper DIY Repair
A botched repair can be far more costly than a professional service call. Key risks include:
- Trapping Water: Incorrectly applied patches can trap moisture, leading to rot in the roof deck and structural framing.
- Mold and Mildew: Trapped moisture creates a breeding ground for mold, which poses health risks and is expensive to remediate.
- Voiding Warranties: Many roofing manufacturers require repairs to be performed by certified professionals. DIY work can void this coverage.
- Safety Hazards: Working on any roof carries an inherent risk of falls and injury without proper safety equipment and training.
When to Call a Pro: Recognizing the Limits of DIY
It’s time to call a professional roofer if you encounter any of the following:
- Damage covers more than 10% of the roof surface.
- The roof has noticeable sagging or spongy areas, indicating structural water damage.
- You cannot locate the source of a leak after a thorough inspection.
- The roof is over 15-20 years old and nearing the end of its lifespan.
- You are dealing with frequent, recurring leaks, which signals systemic failure.
- Flashing is severely corroded or detached.
After severe weather, a professional inspection for storm damage roof replacement or repair is recommended to identify hidden issues.
Repair vs. Replacement: Making the Cost-Effective Choice
Deciding whether to repair or replace your flat roof depends on its age, the extent of the damage, and your long-term budget. While a repair is cheaper upfront, repeatedly patching an old roof is not cost-effective. A full roof replacement provides a new warranty and long-term peace of mind.
| Factor | DIY Repair | Professional Repair | Full Replacement |
|---|---|---|---|
| Cost | Low ($50-$150 materials) | Moderate ($500-$5,000) | High ($15-$40/sq ft) |
| Lifespan | Short-term (1-3 years) | Medium-term (5-10 years) | Long-term (15-30+ years) |
| Complexity | Low (simple patches) | Medium-High (leak tracing, flashing) | High (tear-off, structural work) |
| Warranty | None; may void existing warranty | Workmanship warranty included | New manufacturer & workmanship warranty |
| Risk | High (safety, potential for error) | Low (insured, trained professionals) | Low (new system, professional install) |
| Best For | Minor, visible, localized damage | Localized damage on newer roofs | Widespread damage, aging roofs |
The Value of Professional Flat Roof Repair
Investing in professional flat roof repair offers significant advantages. Certified professionals can accurately diagnose the root cause of a leak, not just the symptom. We use materials and methods specifically designed for your roof system and Maryland’s climate, ensuring a durable, long-lasting repair. Professional work comes with a workmanship warranty, adheres to safety protocols, and prevents the catastrophic costs of unaddressed water damage. For more information, visit our roof repair and roof installation pages.
Section 4: Proactive Maintenance for Long-Lasting Flat Roofs
Preventative maintenance is the most effective way to avoid flat roof repair needs. According to The National Roofing Contractors Association (NRCA), proactive maintenance programs can significantly extend a roof’s service life, saving thousands in premature replacement costs. A simple routine can add five to ten years of protection, a significant return on investment in Maryland’s variable climate.
Essential Flat Roof Maintenance Checklist
Perform these checks twice a year (spring and fall) and after major storms to keep your roof in optimal condition.
- Clear Debris: Sweep away all leaves, branches, and dirt. Trapped debris holds moisture against the membrane, accelerating deterioration.
- Clean Drains and Scuppers: Ensure all drains, scuppers, and gutters are clear. A clogged drain is the number one cause of ponding water.
- Address Ponding Water: If water stands on your roof for more than 48 hours after rain, you have a serious drainage issue that requires immediate professional attention.
- Inspect Seams and Penetrations: Check the seals around chimneys, vents, and skylights. Look for cracked sealant or gaps in the flashing and re-seal minor issues immediately.
- Scan for Surface Damage: Look for new cracks, blisters, or punctures in the membrane and repair them promptly using the DIY methods described earlier.
Seasonal Tips for Flat Roof Care
Maryland’s climate presents unique challenges each season.
- Spring: After winter’s freeze-thaw cycles, inspect for damage like separated seams or lifted flashing. Clear any remaining debris and test drains to ensure they flow freely. This is an ideal time for a professional inspection from a local team that knows what to look for, like our experts serving Columbia, MD.
- Fall: Prepare your roof for winter. Clear all fallen leaves to prevent them from trapping moisture that can freeze and damage the membrane. Make any minor repairs now, while temperatures are favorable for adhesives to cure properly.
This simple routine takes less than two hours annually and is the best investment you can make in your roof’s longevity. For homeowners who prefer professional oversight, our preventative maintenance services at Whiting Window Siding and Roofing Roofing & Exteriors are designed to catch issues that require a trained eye, ensuring your roof delivers its full expected lifespan.
Conclusion: Protect Your Home with Smart Flat Roof Repair
Flat roofs offer modern architectural appeal, but their low-slope design requires diligent care. Many common issues can be fixed affordably by homeowners who understand their roof’s material, recognize early warning signs, and act promptly.
Key Takeaways:
- DIY for Minor Repairs: Small cracks, holes, and failing sealant can be a cost-effective DIY fix with the right materials.
- Maintenance is Key: Twice-yearly inspections and regular cleaning of debris and drains are the best way to extend your roof’s life and prevent emergencies.
- Know When to Call a Pro: For widespread damage, structural concerns like sagging, or an aging roof with recurring leaks, professional repair is crucial to avoid greater damage and safety risks.
At Whiting Window Siding and Roofing Roofing & Exteriors, we empower homeowners with knowledge while providing expert assistance when needed. Our certified professionals offer solutions designed for Maryland’s climate, whether you need a complex repair or a full roof replacement.
For a comprehensive inspection or to address complex flat roof issues, contact our certified residential roofing team today. Let us help you safeguard your investment with a secure, durable roof.