Roof Installation That Protects Your Home: Why It Matters
A properly installed roof is your home’s first defense against water, wind, heat, and ice. Done right, it prevents leaks, stabilizes indoor temperatures, and extends the building’s lifespan. For homeowners comparing DIY versus hiring a pro, start here: the roof is a system—decking, underlayment, flashing, ventilation, and shingles or membranes—working together to keep water out and energy costs down. If you want guaranteed performance and manufacturer-backed warranties, work with a trusted roofing contractor in Maryland. The U.S. Department of Energy reports that reflective “cool roof” systems can reduce cooling energy use by up to 15% in hot climates, while robust flashing and underlayment selection virtually eliminates water intrusion under design conditions.
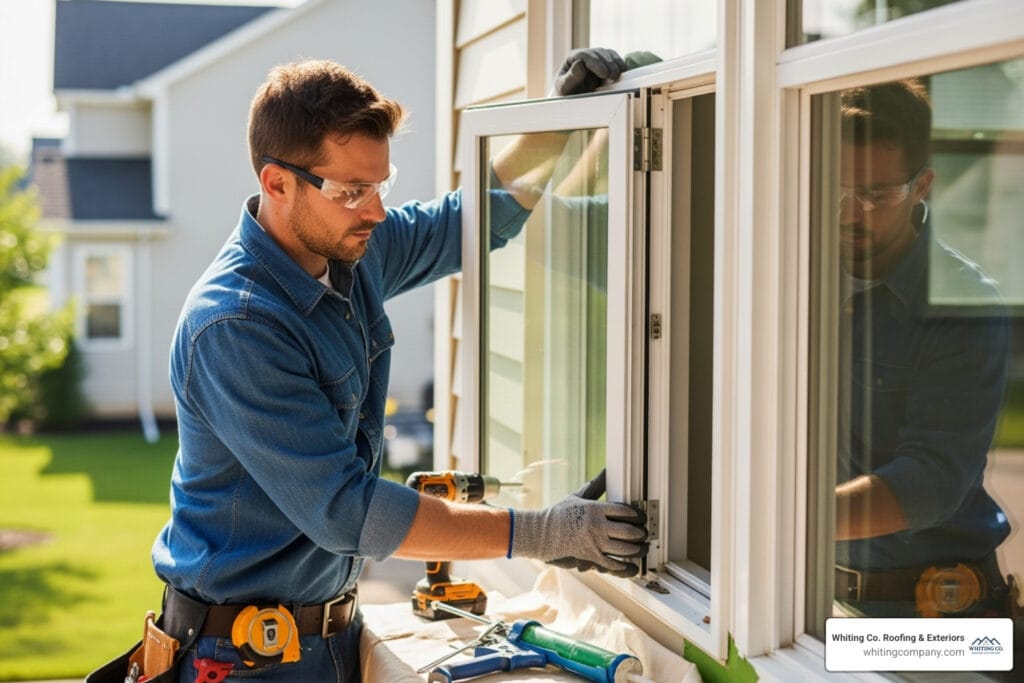
Roof installation complexity varies by roof type and house geometry. Steep-slope shingle roofs are most common and often fastest to replace; complex roofs with multiple penetrations and transitions demand advanced flashing expertise. Professional installation ensures integration with the home’s full weather barrier—the roof, siding, and openings—and preserves manufacturer warranties.
As Tim Whiting, owner of Whiting Window Siding and Roofing Roofing & Exteriors with nearly 50 years of experience, I’ve overseen thousands of roof replacements and installations. This guide gives you the answer-first, field-tested process we use so you can judge where DIY ends and professional craftsmanship begins.

Before You Start: Choose the Right Roof and Replacement Approach
Answer first: For long-term performance, a complete tear-off with code-compliant underlayments and balanced ventilation outperforms roof overlays in durability, warranty eligibility, and leak resistance.
-
Tear-off vs. overlay (layover)
- Tear-off: Best practice. Removes old layers, exposes and corrects rot, allows full flashing replacement, and maximizes shingle life. Many manufacturer warranties require tear-off for full coverage.
- Overlay: Faster/cheaper short term, but adds weight, traps heat/moisture, and can shorten service life. Many jurisdictions cap total layers at two; best practice is one.
-
Material choices and service life
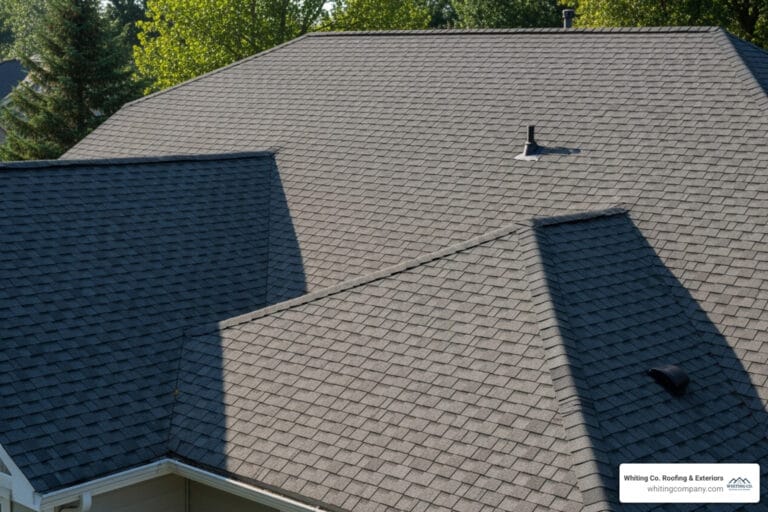
- Asphalt shingles: Most common; typical service life 20–30 years with proper ventilation and installation.
- Metal roofing: 40–60+ years; high wind and hail resistance, excellent fire rating; higher upfront cost.
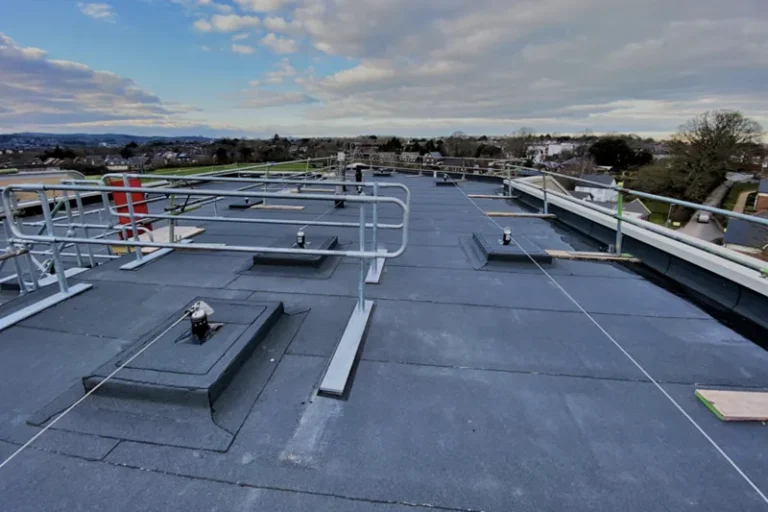
- Low-slope membranes (TPO/PVC/EPDM): Essential for roofs below 2:12 pitch.
-
Energy and storm facts to inform selection
- The U.S. Department of Energy confirms cool roofs can cut cooling energy use by up to 15% in hot climates. Source: energy.gov/energysaver/cool-roofs.
- Wind and hail are the most frequent U.S. homeowners insurance claims drivers. Frequency data consistently show wind/hail as the top cause of loss. Source: Insurance Information Institute (iii.org).
-
New construction vs. re-roof
- New construction roofs install over open framing with full access for air sealing, deck nailing patterns, and integrated flashing.
- Re-roofing focuses on controlled tear-off, deck repairs, and updating flashings at all penetrations and wall intersections.
-
Key roofing terminology you should know
- Decking/Sheathing: Structural base (OSB/plywood) for the roof system.
- Underlayment: Secondary water-shedding layer; synthetic underlayments are modern standards.
- Ice/Water Shield: Self-adhered membrane at eaves/valleys to stop ice dam leaks per climate and code.
- Flashing: Metal or membrane transitions at walls, chimneys, valleys, and penetrations that keep water out.
- Ridge/Intake Ventilation: Balanced airflow that controls heat/moisture, required by code (IRC R806, 1:150 or 1:300 with conditions).
Get material and system guidance from our specialized services:
- Roof installation planning and system selection: https://whitingcompany.com/roof-installation/
- Full roof replacement, including tear-off and ventilation upgrades: https://whitingcompany.com/roof-replacement/
Tools, Materials, and Measurements for a Code-Compliant Roof Install
Answer first: Accurate measurements, the right tool set, and enforced fall protection are non-negotiable for safe, code-compliant roofing.
-
Essential tools
- Safety: Personal fall arrest system (harness, lanyard, anchors), roof brackets, non-slip footwear, safety glasses, cut-resistant gloves, hearing protection.
- Demo and install: Roofing shovel/tear-off tool, pry bars, nail guns, hammer, utility knives, chalk line, framing square, shears/snips, magnetic sweeper.
- Fasteners and materials: Code-approved nails, synthetic underlayment, ice/water shield, drip edge, step and counterflashing, starter strips, shingles/metal panels, ridge vents and baffles, sealants.
-
How to measure a roof quickly and accurately
1) Break the roof into rectangles and triangles. 2) Measure length and width on the ground and adjust for slope using pitch multiplier (e.g., 6:12 ≈ 1.12). 3) Total squares = total area ÷ 100. 4) Add 10–15% waste for hips/valleys and complex cuts; more for highly cut-up roofs.

-
Safety you must enforce
- Falls are the leading cause of death in construction; use guardrails, safety nets, or personal fall arrest systems at all times. Source: OSHA Fall Protection (osha.gov).
- Weather risk is real: postpone in high winds, lightning, or when deck is wet/icy.
- Tool safety: Use nail guns with sequential triggers and maintain blade/cutter guards.
-
Code and ventilation checkpoints
- Ventilation: Provide net free vent area of 1:150 (or 1:300 with balanced intake/exhaust and approved vapor retarder) per IRC R806.
- Ice barriers: Required at eaves in ice-dam regions per IRC R905; follow local amendments.
If you want a turnkey, warrantied install that checks every code box, see: https://whitingcompany.com/roof-installation/.
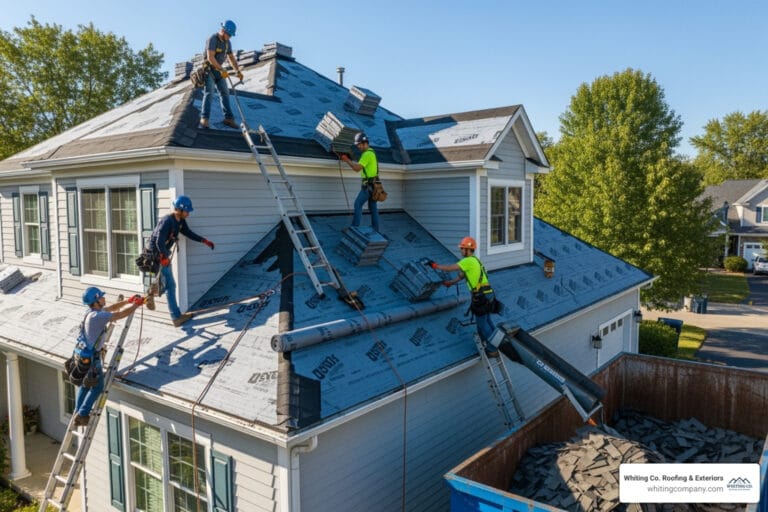
Step-by-Step: How a Pro Installs a Roof (From Tear-Off to Ridge)
Answer first: A best-practice installation follows a strict sequence—tear-off, deck repair, edge metals, self-adhered membranes, synthetic underlayment, flashing, shingles/panels, ventilation, and sealed penetrations—so water has no path into the structure.
Step 1: Tear-Off and Property Protection
1) Protect: Lay tarps, set plywood walls at landscaping, and cover attic openings. 2) Remove old layers down to clean decking. 3) Perform magnetic nail sweep daily to keep the site safe.

Step 2: Deck Inspection and Critical Waterproofing
- Inspect decking; replace rot/soft spots and renail sheathing to framing to meet uplift requirements.
- Install drip edge at eaves first, then self-adhered ice/water shield at eaves (climate-dependent) and in valleys.
- Run synthetic underlayment shingle-lap style with proper fasteners and caps per manufacturer specs.
Step 3: Flashing and Transition Details
- Starter course: Factory starter at eaves/rakes to lock the first shingle course and improve wind resistance.
- Valleys: W-style metal or closed-cut per design; follow manufacturer clearance guidelines.
- Walls/Chimneys: Step flashing under each shingle course plus counterflashing; add kick-out flashings at roof-to-wall terminations to prevent wall rot.
- Penetrations: New pipe boots and metal flashings sealed and shingled correctly; never face-seal as a primary method.
Step 4: Shingle/Panel Installation and Ventilation
- Shingles: Place according to exposure lines; drive nails in the manufacturer’s designated strip. Use 6-nail patterns in high-wind zones.
- Ridge venting: Cut continuous slot at ridge, install vent, and cap with matching ridge shingles; ensure balanced intake at soffits.
- Metal roofs: Follow panel layout plan; fasten with approved clips/fasteners, and seal seams per manufacturer details.
Step 5: Final Sealing, Quality Control, and Cleanup
- Sealant: Only at terminations designed for sealant; rely on mechanical flashings everywhere else.
- Punch list: Confirm straight lines, secure flashings, free-spinning vents, and debris-free gutters.
- Documentation: Provide owner with product registration and warranty packets; photograph key details for records.

When to Call a Roofer: Complex Details, Storm Damage, and Code Issues
Answer first: Call a pro when the job involves structural repairs, tricky flashings, steep or high roofs, storm damage documentation, or any work that could void a manufacturer warranty.
-
Common problem scenarios
- Deck rot or sagging: Replace sheathing and verify rafter integrity before proceeding.
- Complex intersections: Chimneys, dead valleys, roof-to-wall steps, skylights, and low-slope transitions demand advanced flashing.
- Inadequate ventilation: Expect shingle aging, attic moisture, and potential mold if intake/exhaust is not balanced to code.
- Storm damage: Wind and hail often damage shingles and flashings in ways not visible from the ground; timely inspection supports insurance claims. Wind/hail are the top causes of homeowners claim frequency (iii.org).
-
DIY vs. hiring a pro
- DIY savings are quickly erased by a single flashing error that leads to concealed leaks and structural damage. Professional installs preserve eligibility for enhanced manufacturer warranties.
- Upper-story work requires fall protection and experience; hire this out.
-
Responsible disposal and recycling of old roofing
1) Check local rules for construction debris. 2) Asphalt shingles are recyclable into roadway materials in many markets—search local shingle recycling programs (asphaltroofing.org). 3) Ensure nails and sharp debris are magnet-swept. -
Local homeowners
- If you are in or near Columbia, MD, we handle permitting, code compliance, tear-off, install, and cleanup under one roof.
Explore service options:
- Roof replacement after storms or aging systems: https://whitingcompany.com/roof-replacement/
- New roof installation and system upgrades: https://whitingcompany.com/roof-installation/
Finish Strong: A Weather-Tight Roof, Backed by Warranty
Answer first: A properly designed and installed roof delivers leak-free performance, code-compliant ventilation, lower cooling loads, and resale value—benefits you can quantify on day one and over decades.
While a capable DIYer can handle minor tasks, full roof installation is a precision trade. Details such as step flashing sequencing, underlayment laps, fastener patterns, and balanced ventilation determine whether your roof lasts 30 years or fails in five. Many manufacturers tie their strongest warranties to certified professional installation.
For homeowners in and around Columbia, MD, Whiting Window Siding and Roofing Roofing & Exteriors brings nearly 50 years of field experience to every project. If you want the certainty of documented, code-compliant work and manufacturer-backed coverage, schedule your roof evaluation today: https://whitingcompany.com/roof-installation/.